Woodturning | The Inferno Bowl
3 min read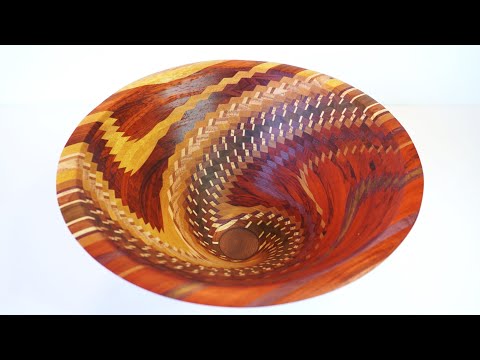
Check out our Instagram! https://www.instagram.com/formanwoodw…
Youtube: https://www.youtube.com/@formanwoodworking/videos
This bowl is now available on our website for purchase! https://formanwoodworking.com/
Hello, friends! I’m back!! I can’t remember if I mentioned this in a past video or not, but back in the summer of 2023, my day job started to really pick up, and I simply didn’t have the same kind of time I used to have to get down into the shop. Fast forward to that November, and I officially ran out of videos that I had previously stored up; the “wormy” bowl was the last one to go out on the channel (if you haven’t seen it, check it out! • Woodturning | The Wormiest Firewood! ).
I can’t believe it’s been almost two years since then, and I can’t tell you how much I’ve missed woodworking and sharing my projects with all of you amazing people. Thankfully, things with the day job have eased up (slightly), and in the past couple of months, I’ve been able to get back into the shop. I can’t promise that there won’t be another hiatus at some point (I’m sure there will be), but what I can say is that I currently have 5 additional projects completed and ready to upload, meaning you can expect monthly video releases for at least the next 5 months. Anyways, onto today’s video and possibly the BEST thing I’ve ever made! Wow, where do I even begin? This bowl, without a shred of doubt, was the most difficult and time-consuming project I’ve ever attempted.
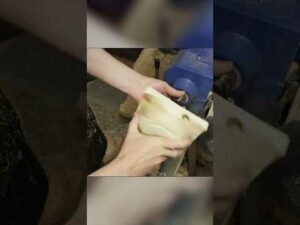
The biggest reason for this was the method I used to get the rings for the bowl. I’ve seen some other channels do similar types of board bowls as this, and, normally, they first build a stack (vertical, not like the boards I made) of wood with varying thicknesses. To get the thin boards, they then run the stack through a table or band saw. Unfortunately, I have neither, so I took a shot with the method you see in the video. What this meant was that I had to do a LOT of planing; my shop floor looked like it belonged in a saw mill. I also had to put together my own clamping jig. If it’s not clear in the video, the threaded screw keeps the smallest board centered, and the pencil circles on the bottom keep the next largest ring that is about to be glued centered. This was essential to the success of the bowl. Had I glued each ring just slightly off of center, and that error carried forward into every other glue up, by the time I got to the largest ring, it would have been so off of center I likely wouldn’t have been able to turn it.
All that is to say that I’m frankly surprised I managed to pull this off. There were probably 5 different steps along the way that I was sure would end in catastrophe (having to hand saw the boards straight was one of them!). In the end, though, is probably the nicest looking bowl I’ve ever had the pleasure of turning. I just love it. It came out far better than I ever could have expected. If I’m not mistaken, there are 11 different wood species in this bowl (specifically: red oak, yellow heart, paduak, cherry, sap wood, hard maple, ash, purple heart, bloodwood, black walnut, and red heart). It was finished with a coat of tung oil and (not in the video) buffed with carnuba wax. What do you all think? I’d love to hear down below! I’m happy to be back, friends! As always, thank you so much for your continued support of the channel! I hope you enjoyed today’s video, and I hope you’re excited for more to come!